Seal Carving: a guide to one of my hobbies!
A basic tutorial for carving seals, some history about seal carving, and examples and useful resources.
Have you ever seen something like the following?
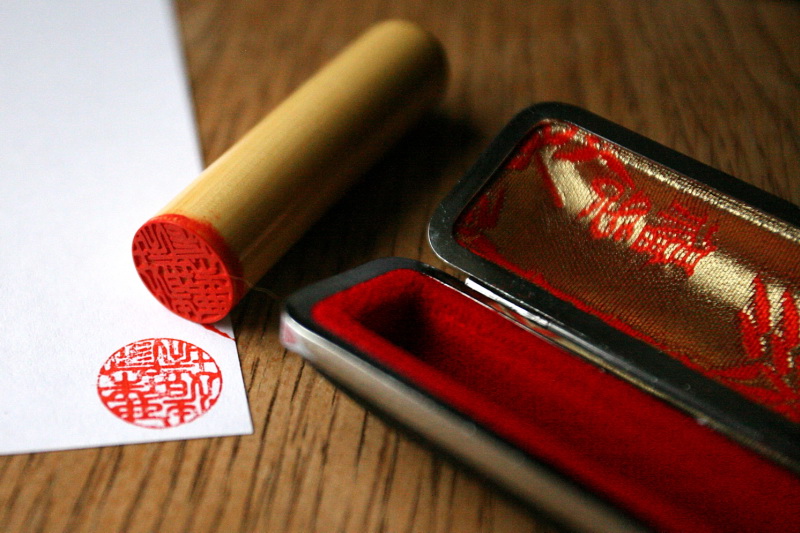 Mysterious object, exhibit #1. Image retrieved from OISHYA (source).
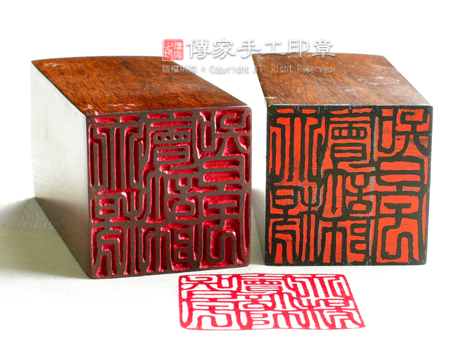 Mysterious objects, exhibit #2. Image retrieved from 傳家手工印章 (source).
Yes, both are seals! The first one is a Japanese hanko 判子, a type of seal commonly used in Japan to sign documents. The second one is a Chinese 印章 yin4zhang1, a type of seal also commonly used to sign documents, but in China. Both of them settle their roots in the ancient art of seal carving, with lots of history behind it. Interestingly enough, it is one of my hobbies! Let me introduce you to the beautiful world of seal-carving ~(≧▽≦)/~ (and there is a video at the end, make sure to watch it!).
Some history about seals
Throughout history and across the world, every culture has had its own way of showing authority, integrity, and authorship. One of such ways was the usage of seals that could represent a specific person to a whole government or institution. Seals thus allowed for a certain level of guarantee regarding important information and documents; “certain level” because there always was a chance for forging seals and deceiving people
Saúl’s note: unfortunately, public-key cryptography, digital signatures, hashing and certificate authorities were not in use at the time :(, so be really happy that we have this technology nowadays, because they provide us with a set of really high quality integrity and authorship verification procedures.
Seals are a small reflection of the material culture of each society. From bones, to tortoise shells, to wood, to metal, to rings, to stones, to jewels, to many more materials. The people from each region would use whichever materials were available to them, and this is what made in some cultures some materials more valuable or with a higher appreciation than others. In China, jade seals were and still are highly valuable; in Spain, on the other hand, signet rings made of gold might be seen as more precious than jade seals. As always, it all depends on the culture.
The materials used for the stamping greatly vary too. In countries like Japan, China, or Mongolia, red ink or ink paste, like cinnabar paste 朱砂 zhu1sha1, were quite common, with natural fibers like silk or strands of plants giving shape to the pastes. In countries across Europe like Spain, Italy, or Greece, sealing wax made of beeswax and natural pigments were used instead, requiring melting some drops before using it.
What is seal carving / engraving?
This blog entry is specifically about seal carving, and thus our focus will be on those seals whose designs require removing parts of the material we are engraving on. I am following the traditional methods that take origin in Asia, this will require a surface onto which to etch our mirrored design (more on this later), a chisel, and some ink paste to test the design.
Carving or engraving?
- Carving is sculpting a 3D shape in some medium through the removal of its parts; for instance, using a wood chisel to carve a cat out of a cherry wood block.
- Engraving, on the other hand, is etching a design onto a surface, with the main goal not being making a 3D design, but, rather, leaving an impression on a surface; think of scratching a piece of metal to draw a letter, that is engraving.
So why do I refer to my hobby as “seal carving”? To be honest, that is the way I have seen this activity called in most tutorials and books I have found; nonetheless, the correct way to call it is “seal engraving” due to the aforementioned explanation. I may use both terms interchangeably for the sake of simplicity.
Think even further, you could learn how to both engrave a seal and then carve the stone it is on to give it a cool shape; in fact, carving some decoration onto a seal is a feature that rises its value. You can see it in this jade seal, for instance:
Jade seal of the emperor Qianlong. Image retrieved from Antiques and the Arts (source).
Tutorial Time!!!
Equipment
At the very least:
- stone: should be nor too hard, nor too soft. We could get a piece of granite to engrave, but us, humans, usually lack the strength to do so, so we will resort to softer stones in the Mohs scale at 1-2 hardness level. They are usually cheaper if bought in sets, or you can reach out to local stonemason’s workshops:
- steatite / soapstone (1-2)
- alabaster (2)
- stone engraving chisel: I use tungsten chisels, which are hard enough to easily scratch the rocks. Many online shops offer them to do crafts at reasonable prices.
- ink paste or a regular ink pad in case you cannot find any.
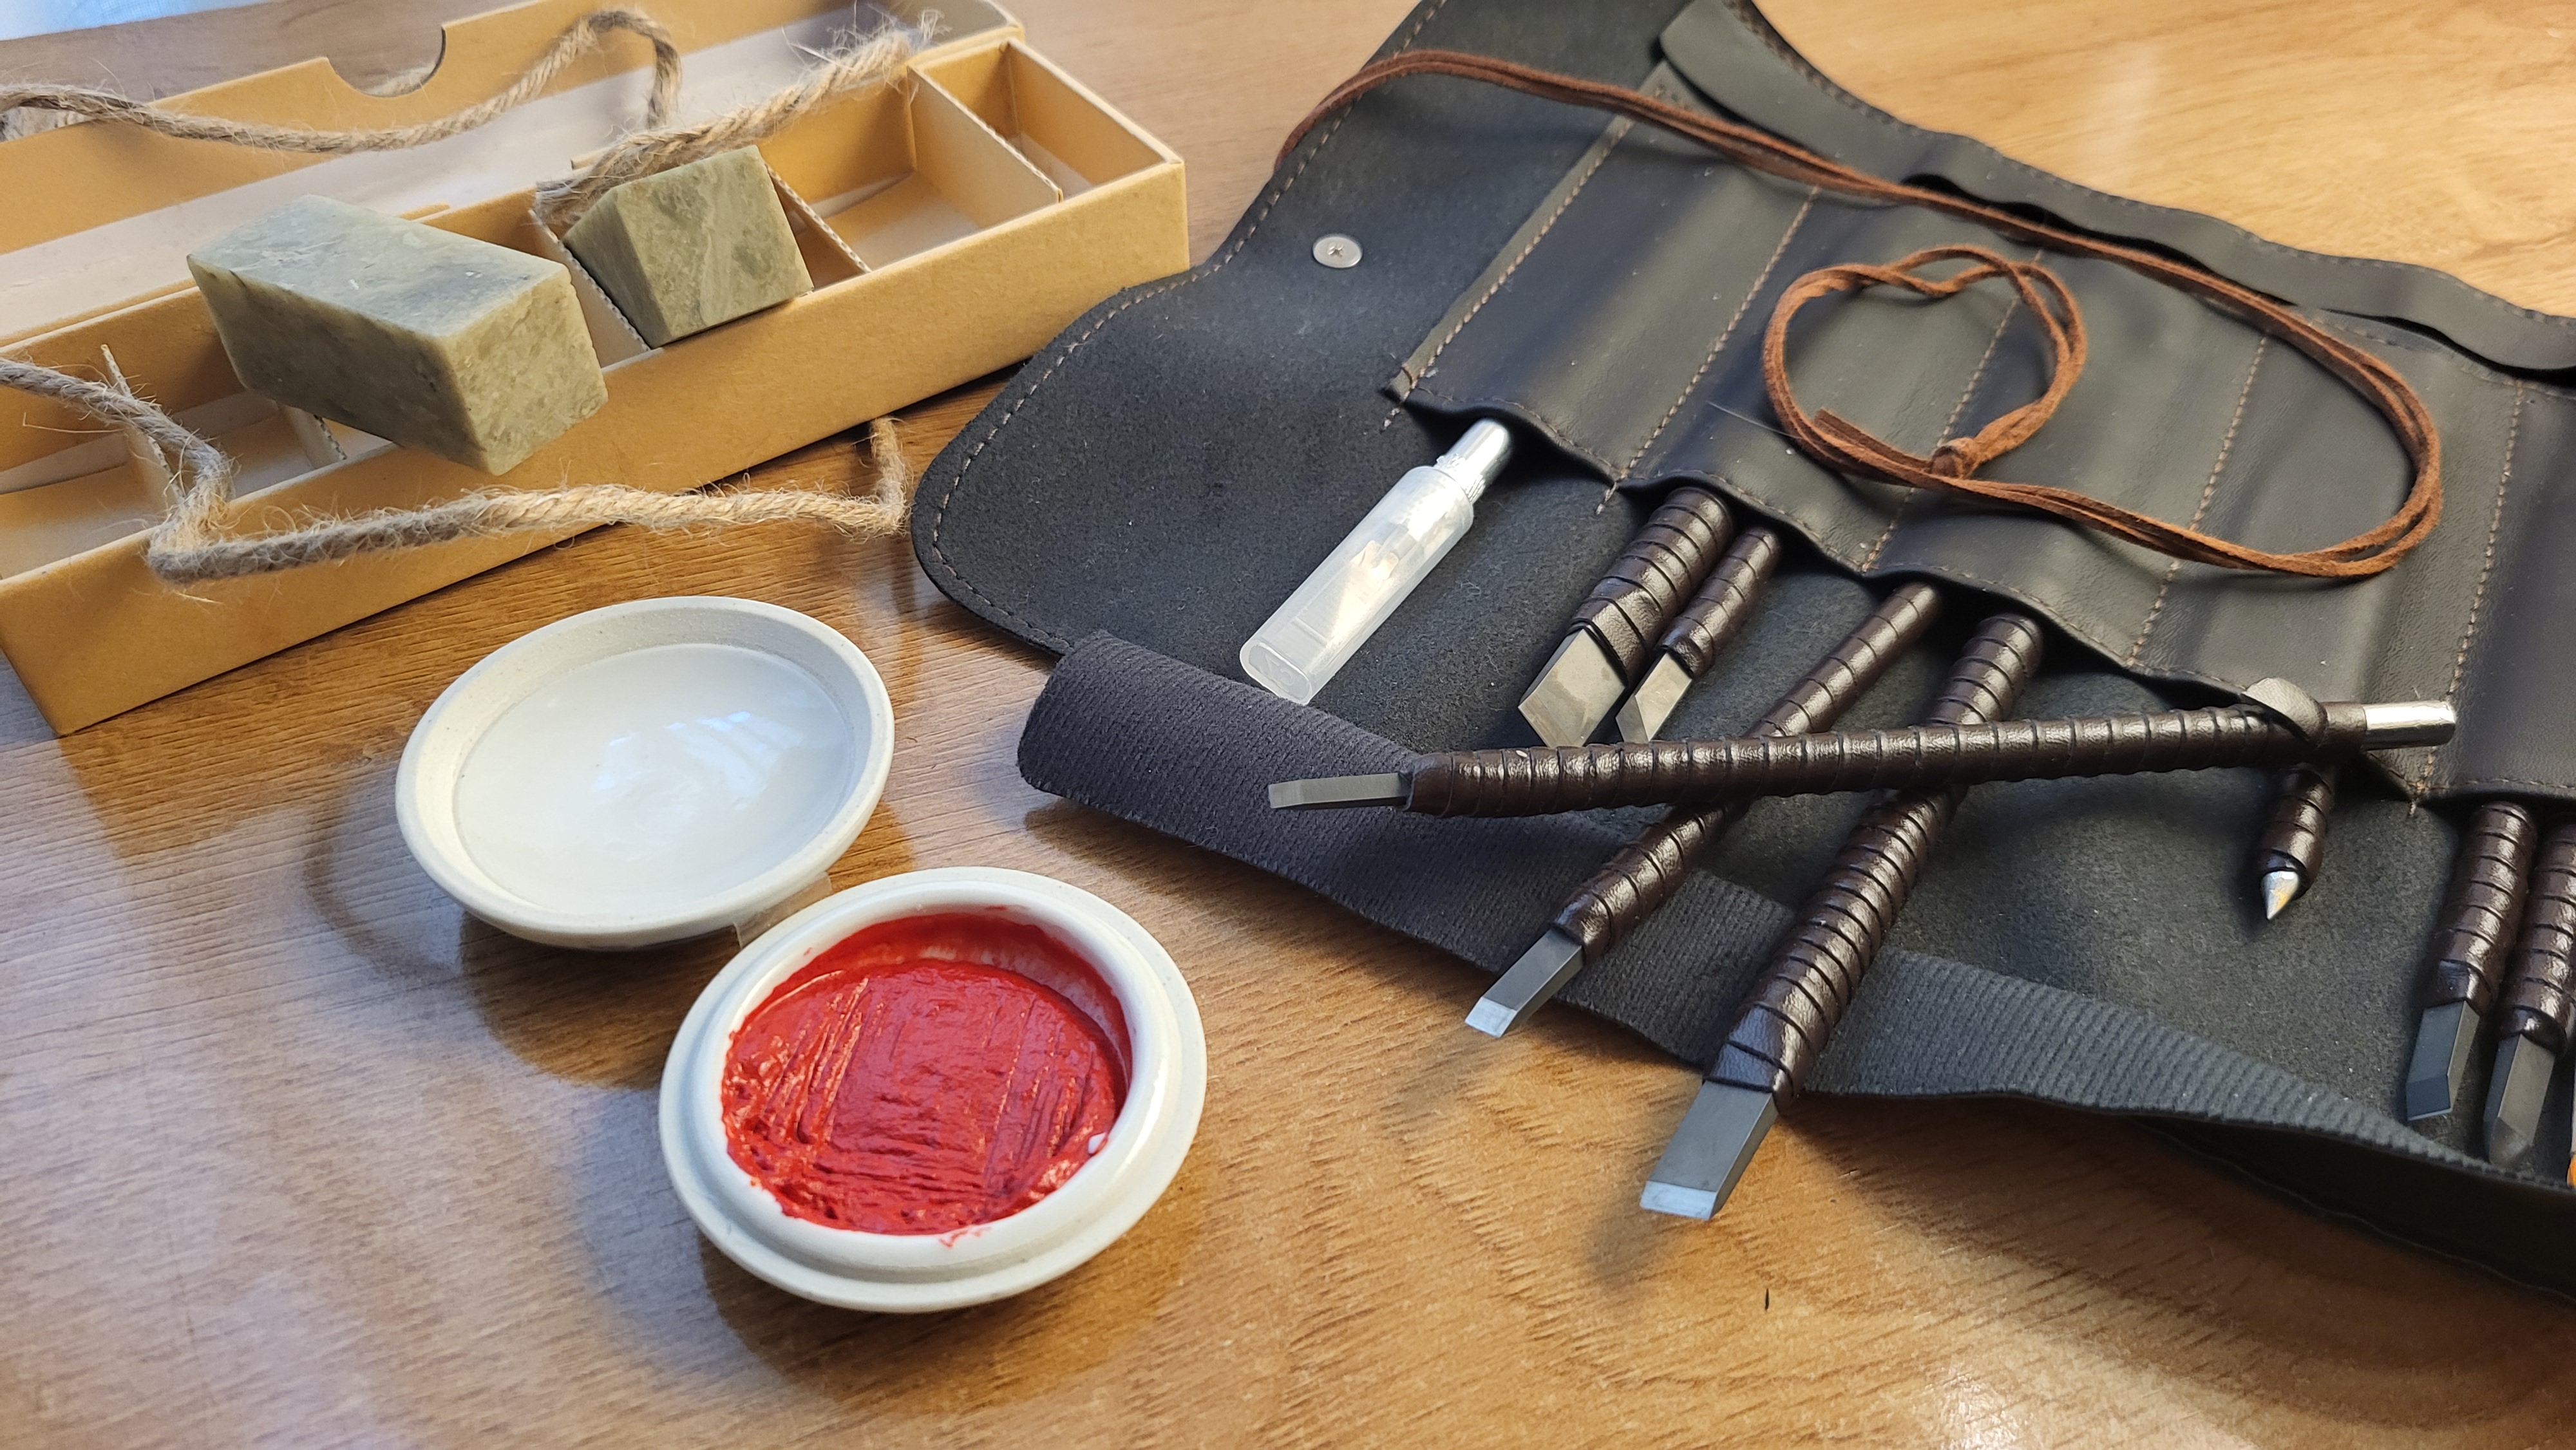
This is my equipment! Make sure to have at least one chisel, some ink, and the stone.
Nice-to-haves:
- transfer paper or tracing paper
- pencil
- sandpaper
- sticky tape
Fun fact! When looking at the good and easy rocks to engrave with our human strength, we need to focus on three main aspects: hardness (“how scratchable”), toughness (how “stretchable”), and grain size (how “granular”).
- Quartz: too tough (Mohs 7), so cannot be easily engraved; too brittle, so it will easily fracture; no grain.
- Sandstone: too tough (Mohs 7, it is quartz-based!); too brittle; crumbly.
- Steatite: not too tough (Mohs 2); tough enough; not too brittle. Good choice!
Typical procedure
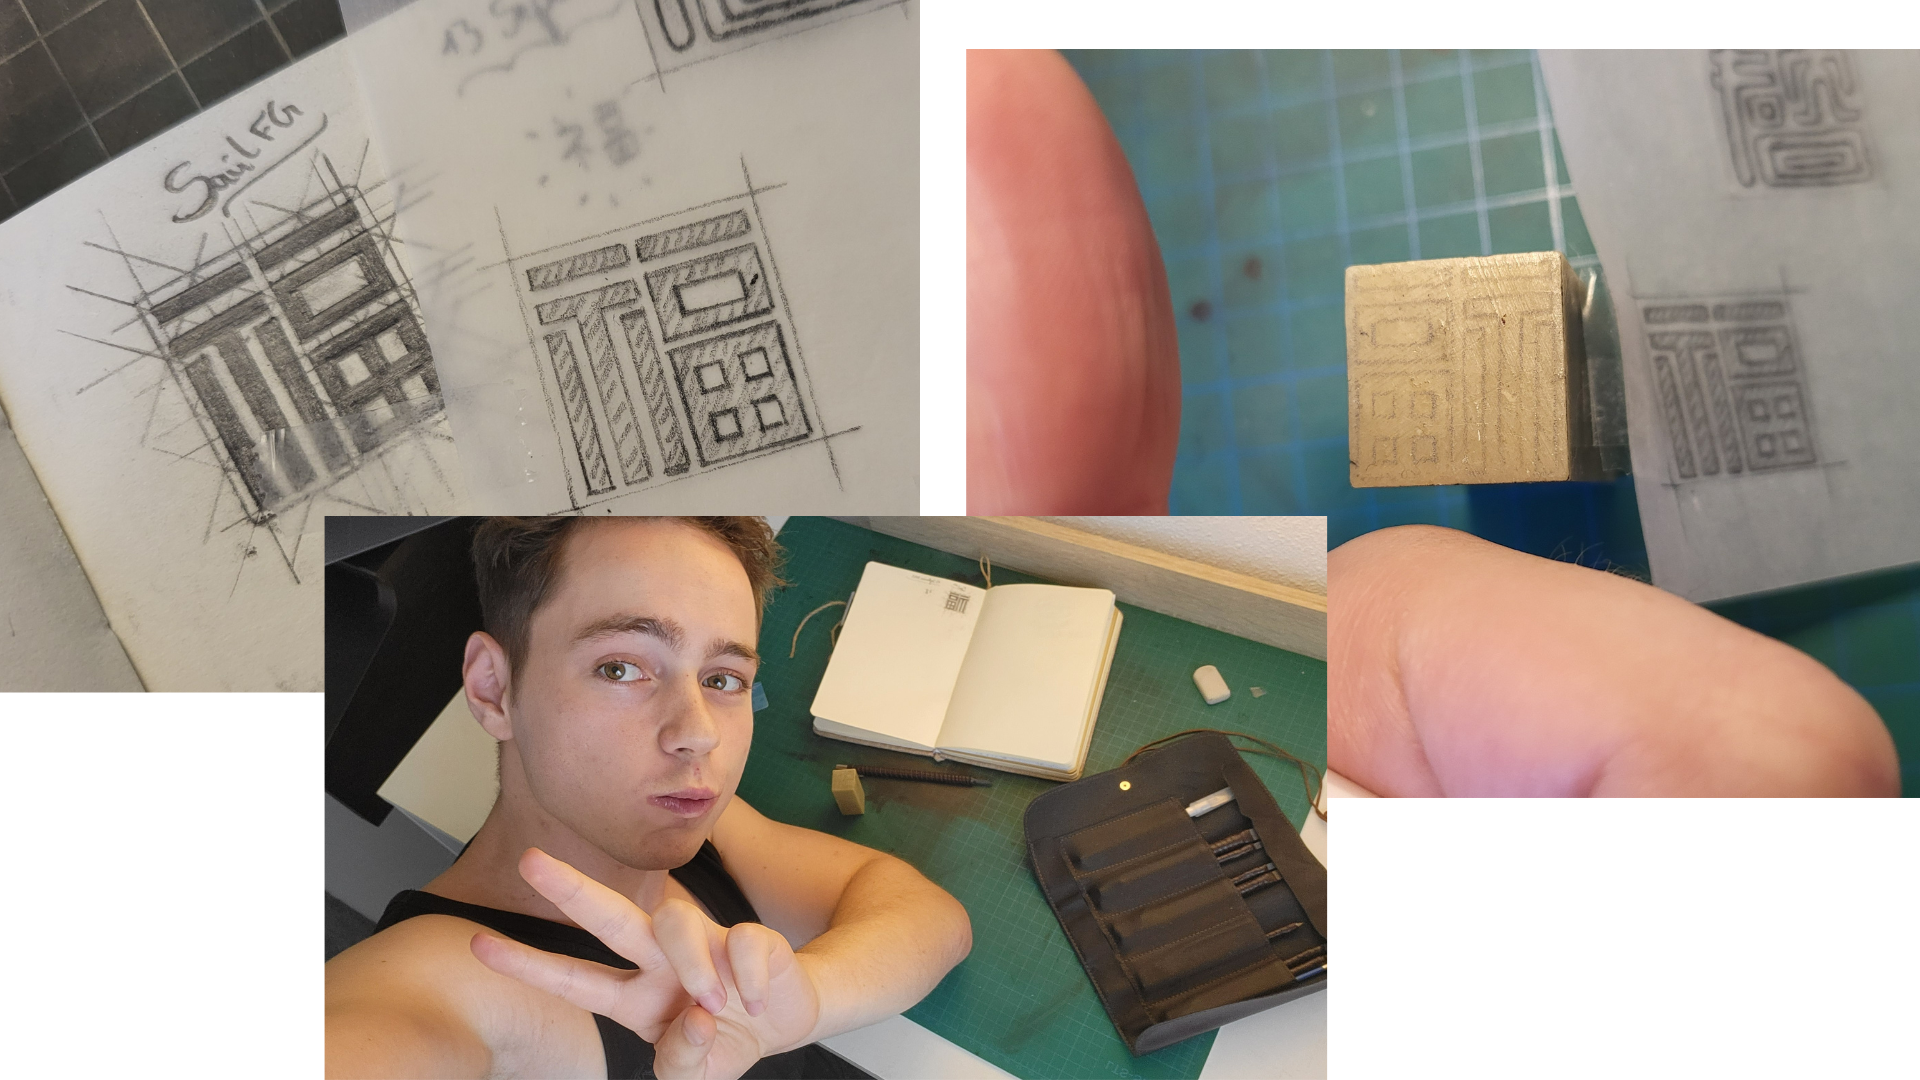
These are the steps I usually follow when carving my own seals, I will illustrate with one of my most recent seals.
1) Drawing
- make your design! I like to first draw it in my drawings notebook. For references for character designs, please check my list of resources at the end of the post.1
- if you draw it directly on top of the stone, make sure to mirror it! We must mirror it so that, once it is stamped onto the paper, the design is not reflected (trust me, it has happened to me).
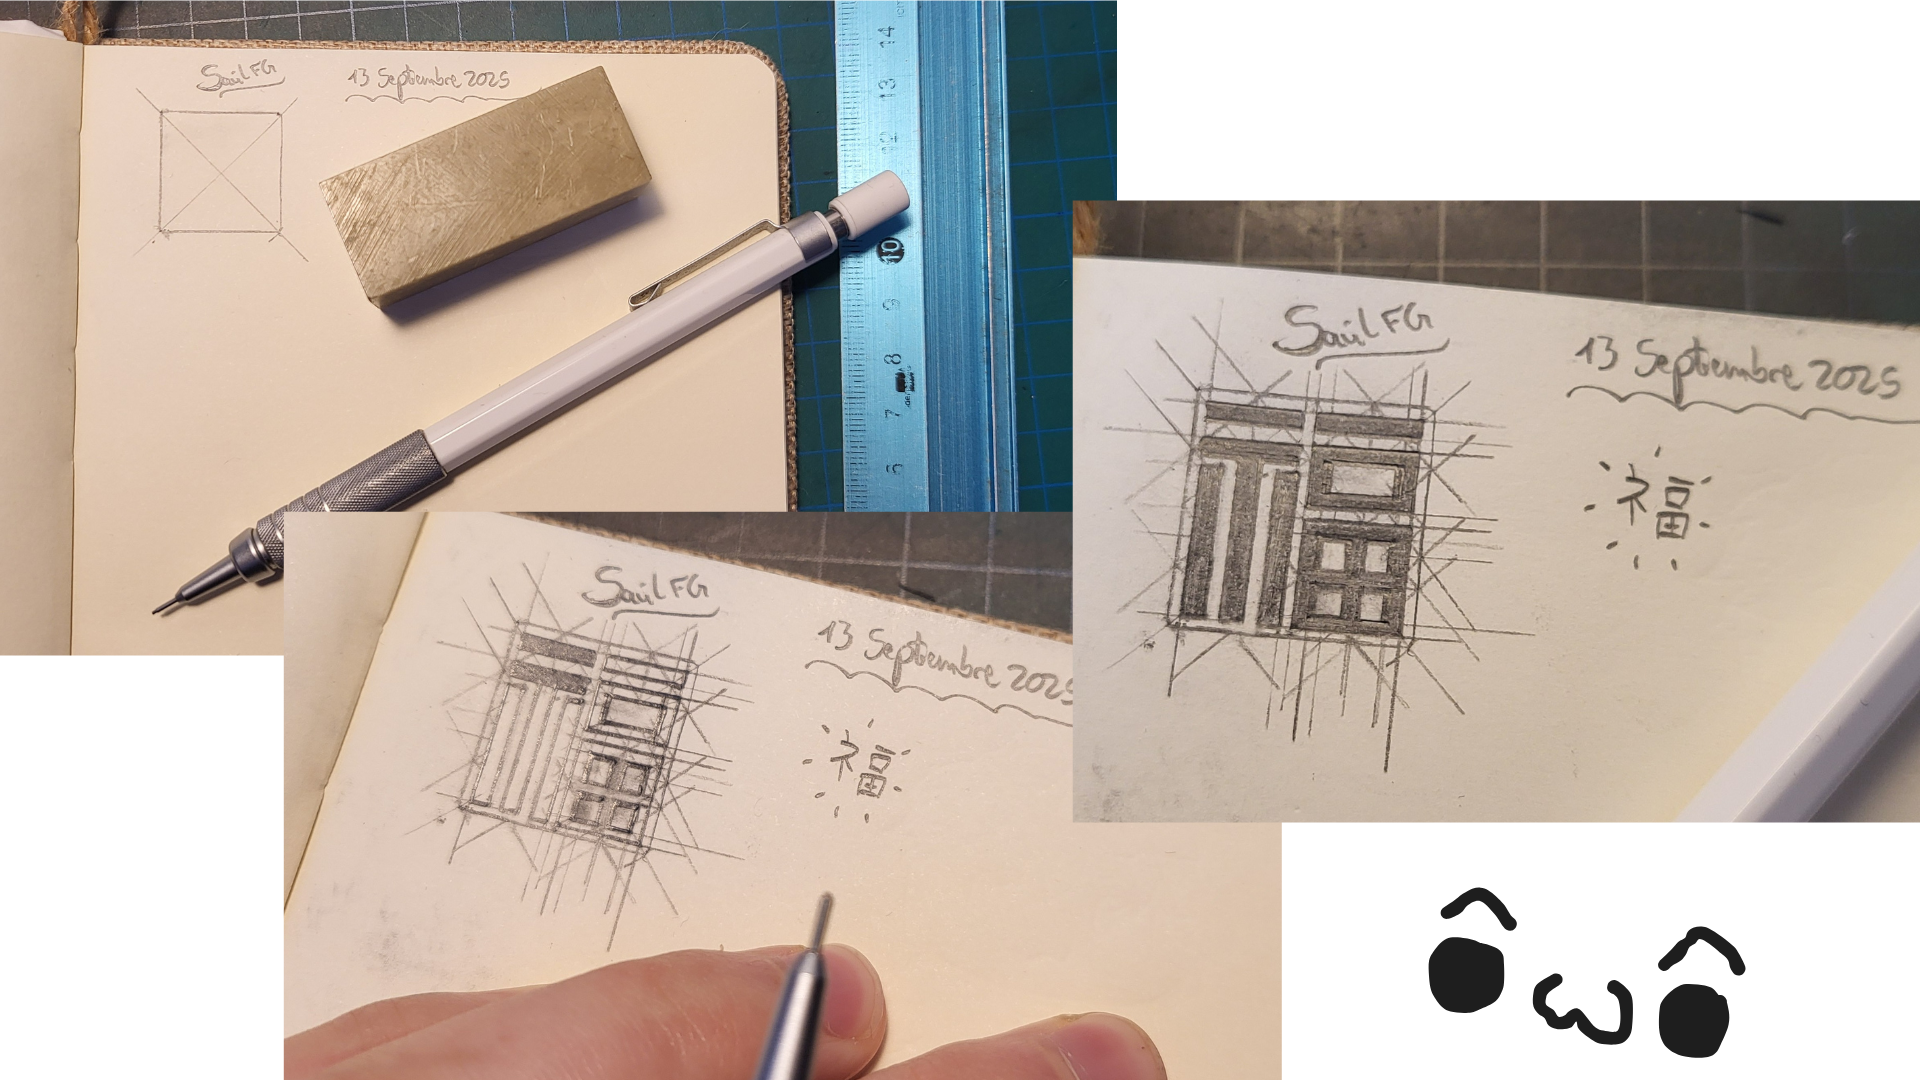 Here I was making my own design for the popular character 福 (CH: fú; JP: fuku), which represents good fortune, good auspices, and blessings.
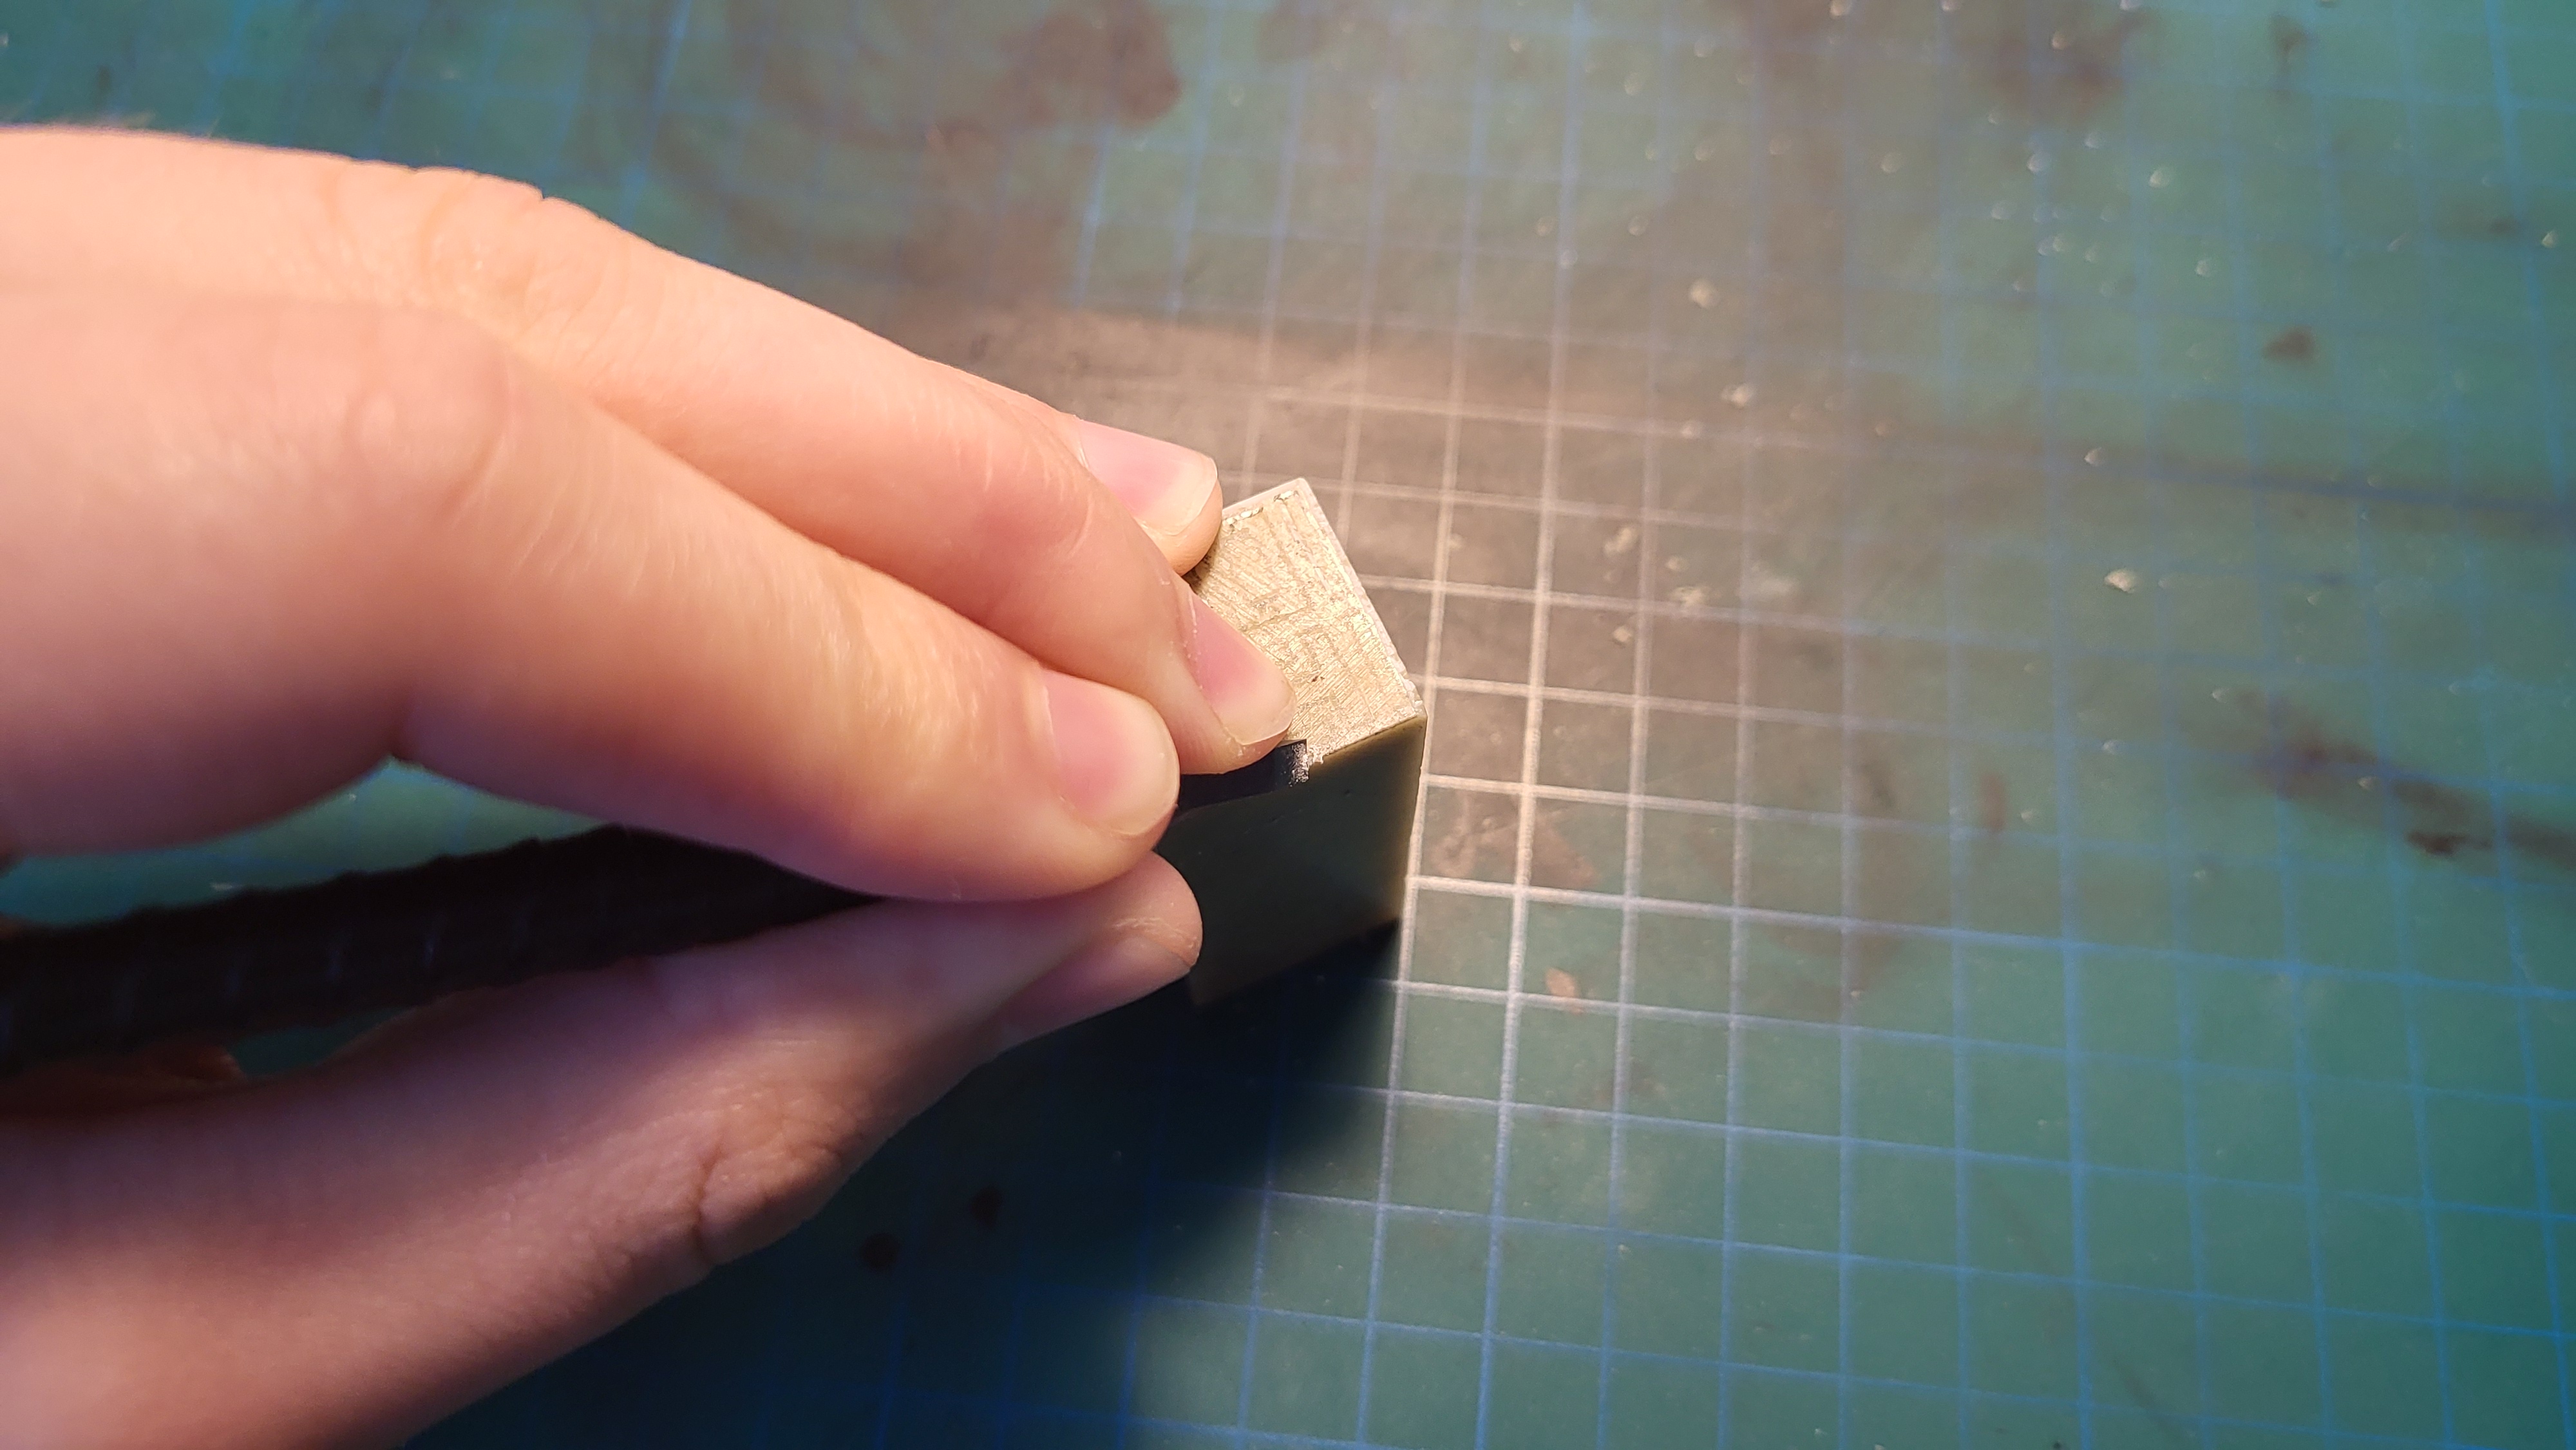
2) Transfering
- if you first drew it in another paper, transfer the design onto tracing paper, place it on the part of the stone you will engrave on, and trace again in order to transfer it to the stone. In the end, make sure that the design on the stone is mirrored.
 In order to transfer it, I advise to use sticky tape to hold the parchment paper on place. Also, notice how the design eventually ends up mirrored on the seal’s surface.
3) Carving / engraving
- hold the chisel like a pencil (or, the way I do it, hold it as a pencil but with the tip resting closely and parallel to the middle finger) and begin to engrave. Go little by little, not too fast; if you apply too much strength or move too quickly, the chisel might slip away or you could begin to stray from your desired path.
 This is a way to hold the chisel in order to carve.
What part of the design do we remove? The main design, or the rest?
Whichever you prefer! While carving, the design can be either “positive” or “negative”. A “positive” seal carves everything out except for your main design, so it is a “relief/positive seal”. A “negative” seal only carves out your main design, so it is an “intaglio/negative seal”. The seal I make in this post is “positive”.
If your design is a triangle, a positive seal would require carving out everything but the triangle, and a negative seal would call for carving out the triangle only.
- In Chinese, these concepts are called 阳文 yángwén (light) = positive, and 阴文 yīnwén (dark) = negative (by the way, these characters are what make up the popular yin 阴 and yang 阳: ☯).
- In Japanese2, they go by 朱文 shubun = positive (literally: red character), and 白文 hakubun = negative (literally: white character).
4) Testing
- once you are done engraving, check how your progress is going by stamping it somewhere; fix accordingly.
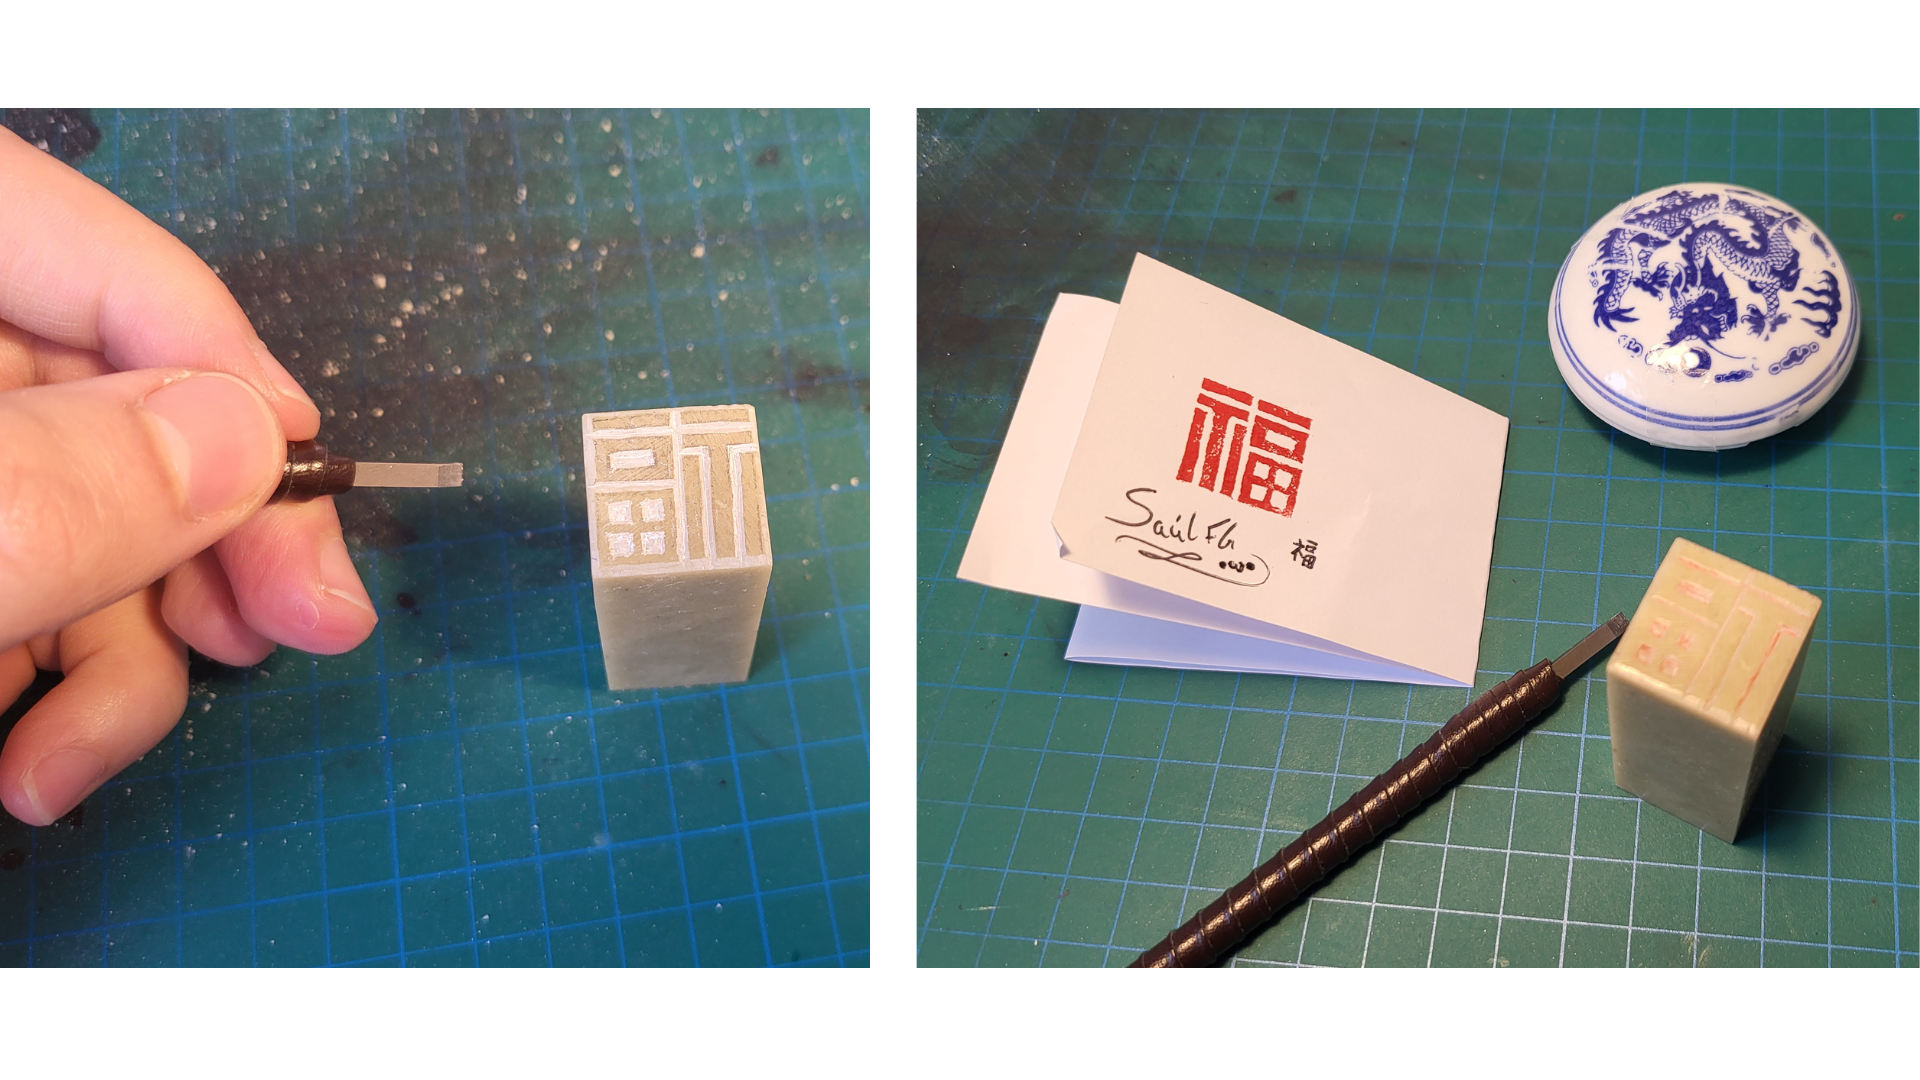 My seal and how it looks on paper!
5) Final touches - done! If you fancy, you can also engrave some decorative motives on the sides of the seal, the sky is the limit.
The legend himself carving a seal
Here you can see me engraving the seal shown in the previous pictures.
This little seal took me at least 2 hours, including making the design.
Important questions and warnings
My seal does not look perfect / I don’t like how the grooves are not uniform / it looks so different compared to laser-cut ones
- Yes, absolutely. This is handmade, that is its beauty and charm. You are spending your time to manually carve your design. As I like to say, experience and practice will teach, and with time your skills will improve. You will not have the precision that industrial machines have, but you will have expertise and a lovely hobby, literally, at your fingertips. (❁´◡`❁)
I messed up while engraving and accidentally removed something I shouldn’t!!! How do I even start over?
- First of all, it is okay, that happens pretty often when one begins seal-carving. Secondly, ask yourself: does it ruin the design, or does it make it more unique? If yo regardless want to start over, get some sanding paper and, over a flat and uniform surface sand the seal following an “∞” (infinite) motion. Check frequently to see if the surface has become flat and smooth again.
I could not find steatite, but I found some quartz on the riverbed, may I use it?
- Quartz and other crystalline stones can crack and split unexpectedly, so it can be really hard or dangerous to engrave onto one.
I have many rocks available at a riverbed / old quarry / mountain / etc. Can I pick any of those rocks and begin engraving?
- Yes and no. If you are a connoisseur in geology, rock formations, or chemistry and can confidently identify the material in your hands, follow your knowledge. However, to those inexperienced, picking the wrong stones, minerals, or crystals might be a bad idea. When we scratch materials, volatile dust and particles are released, so they can reach your lungs, eyes, mouth, etc. Certain materials might be highly toxic; for instance, sometimes there are traces of asbestos in serpentine, a similar rock to soapstone, and that can lead to serious health problems if inhaled.
What do you think about wearing facemasks or safety goggles?
- A fantastic idea! I usually wear a face mask while engraving because I do not like the idea of breathing the dust, even if presumably innocuous. It can sometimes get hard to breathe, but that depends on each person. Goggles or regular glasses can be quite useful to protect your eyes, specially if a small splinter launches towards your face (which has happened to me. Not fun).
How do I clean the seal?
- Water with mild soap and some paper tissue will do. Do not apply abrasive products or strong chemicals and your seal will last an eternity.
Final Thoughts =)
I hope you enjoyed this small introduction to seal carving! I think it is a really fun hobby and, as with anything, the sky is the limit! You can learn how to carve characters, but one can of course make seals of anything. If you need some inspiration, in the future I will make a post with all my designs so far.
I look forward towards seeing what you can make =).
Regards,
Saúl FG
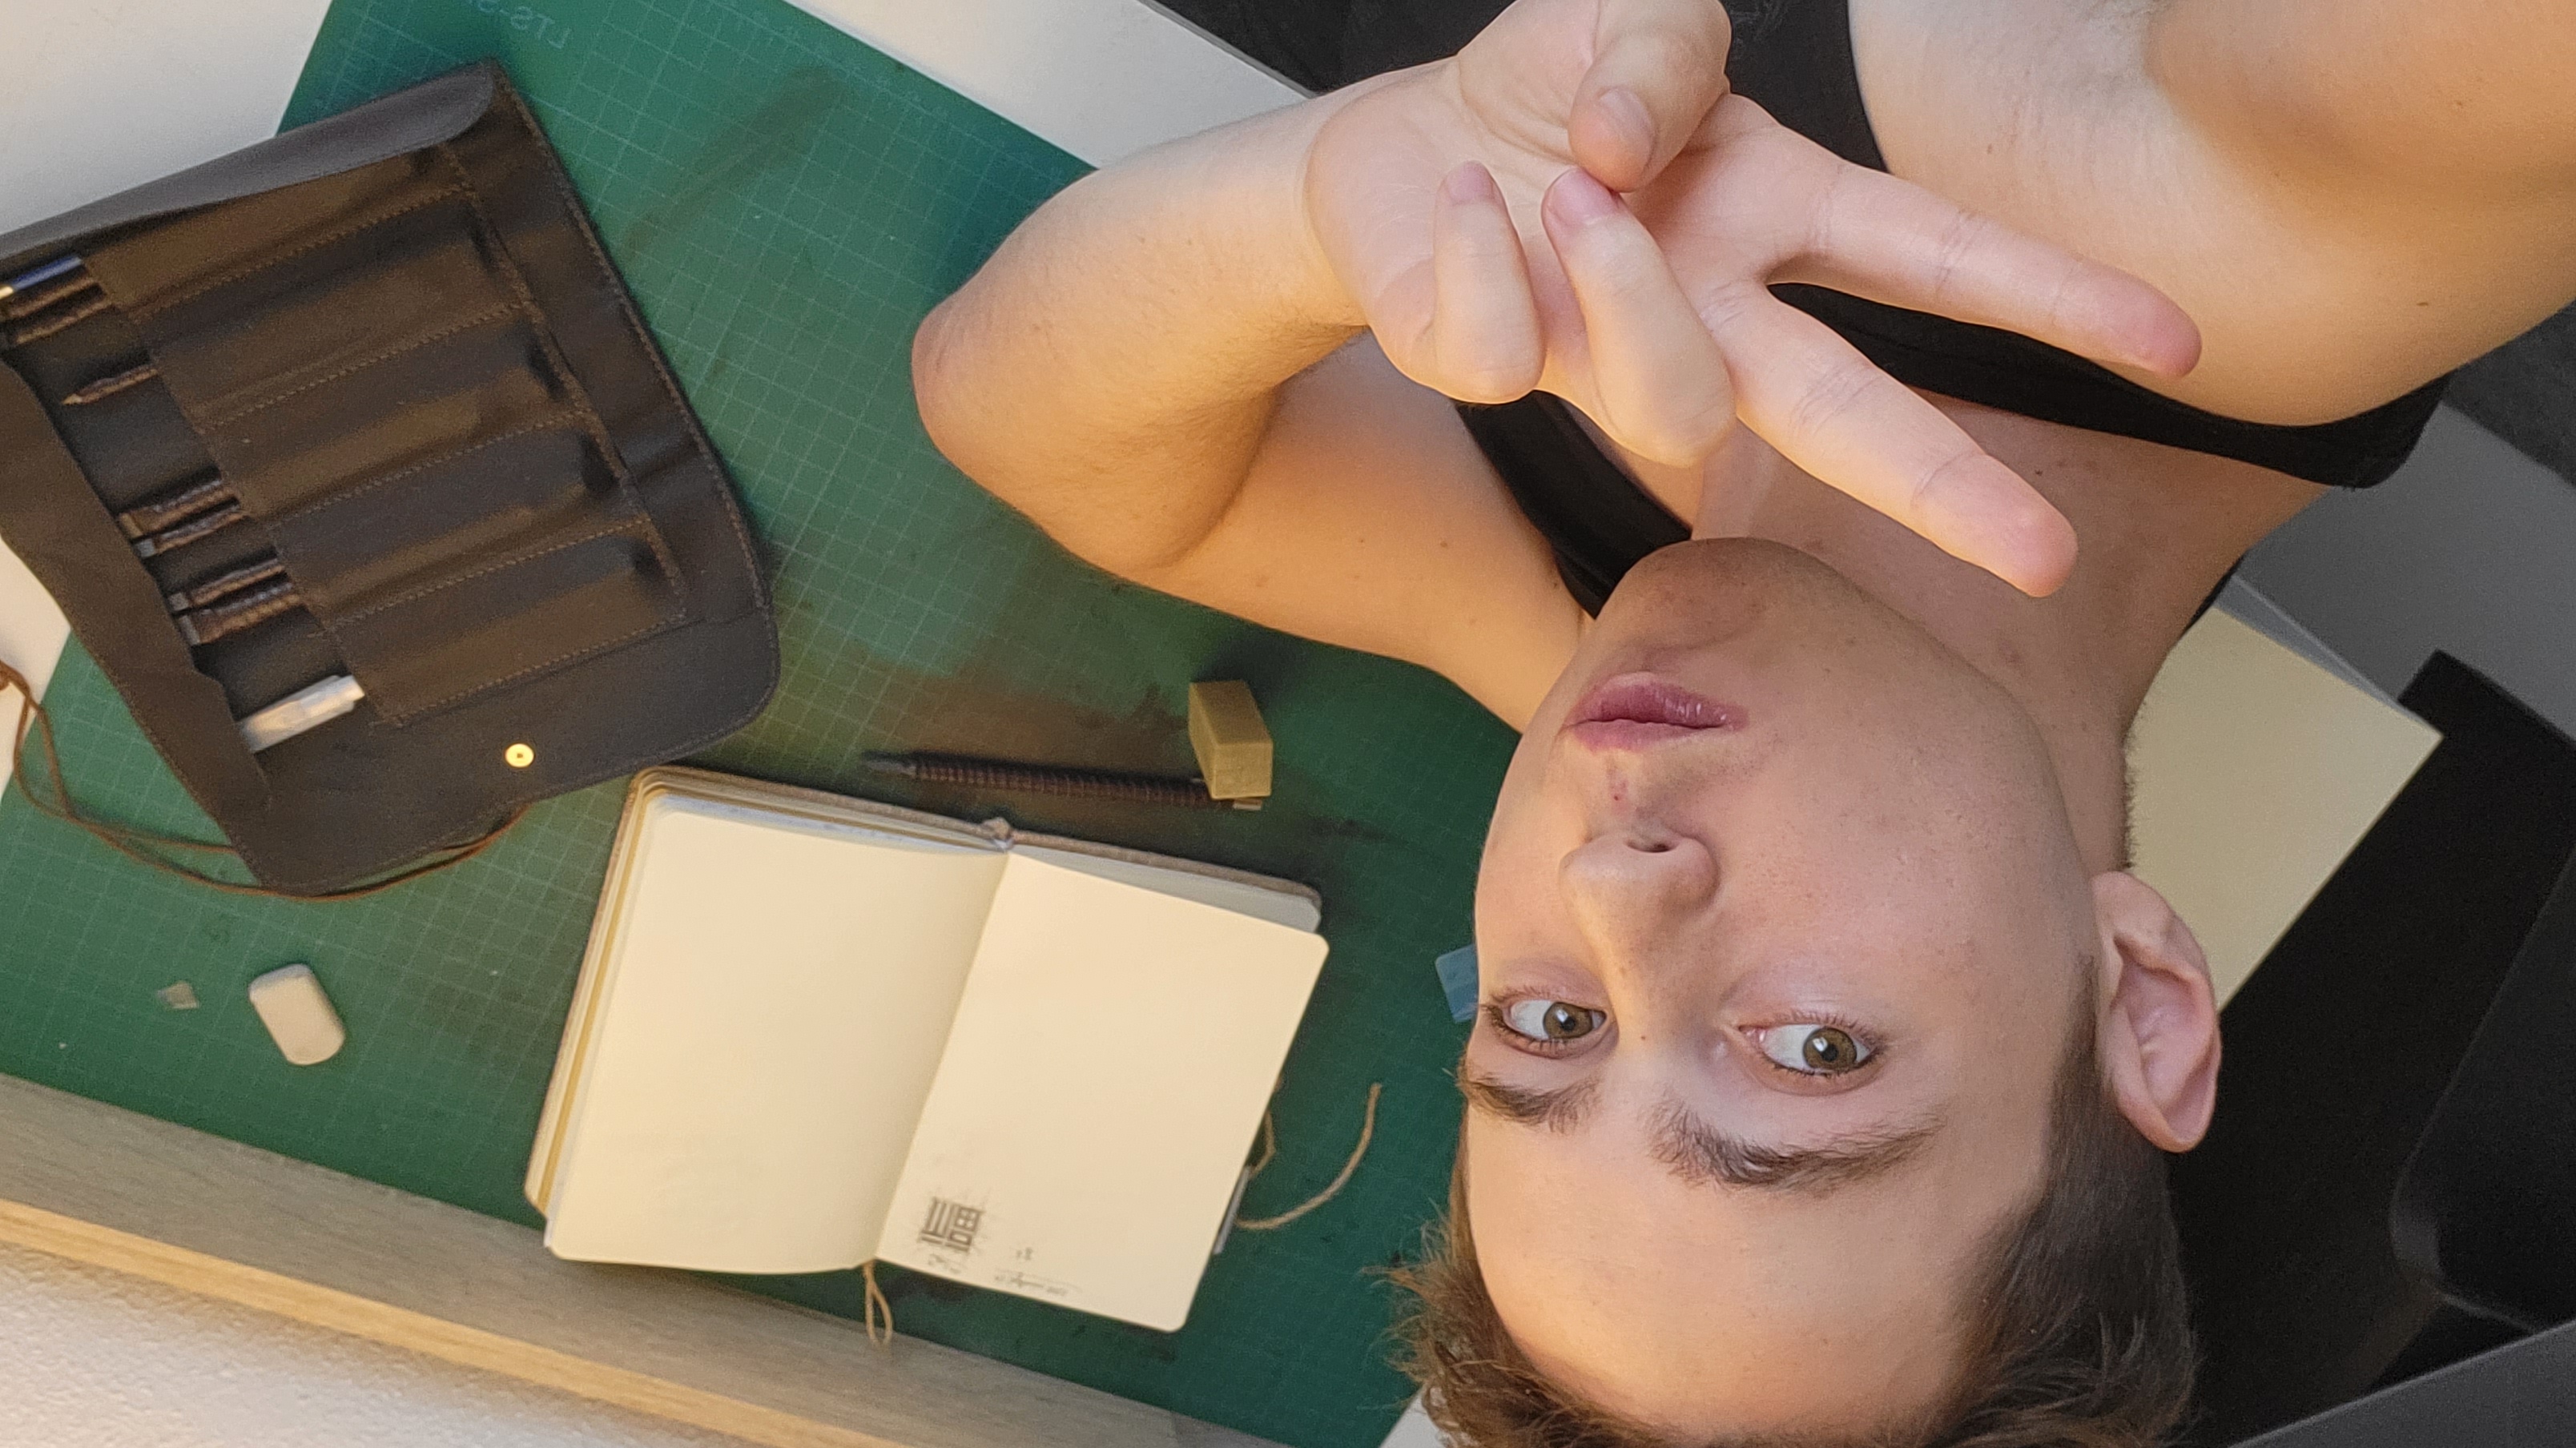 Posing with my most recent creation because I am proud of the final result =)
Resources:
Hankomaturi: website from a Japanese company where you can enter characters and check how your hanko would look like under a certain style. 漢典書法 Handian Calligraphy: Chinese dictionary that comprises seal carving designs, cursive, semicursive, regular, and official. Really useful if you would like to see variations. 汉字源 Hanziyuan: excellent database with the etymology of Chinese characters, from oracle, to bronze, to seal… extremely comprehensive and elucidating! ↩︎
Source: https://namae.kaiunya.jp/2016/10/tenkoku-rakkanin/ ↩︎